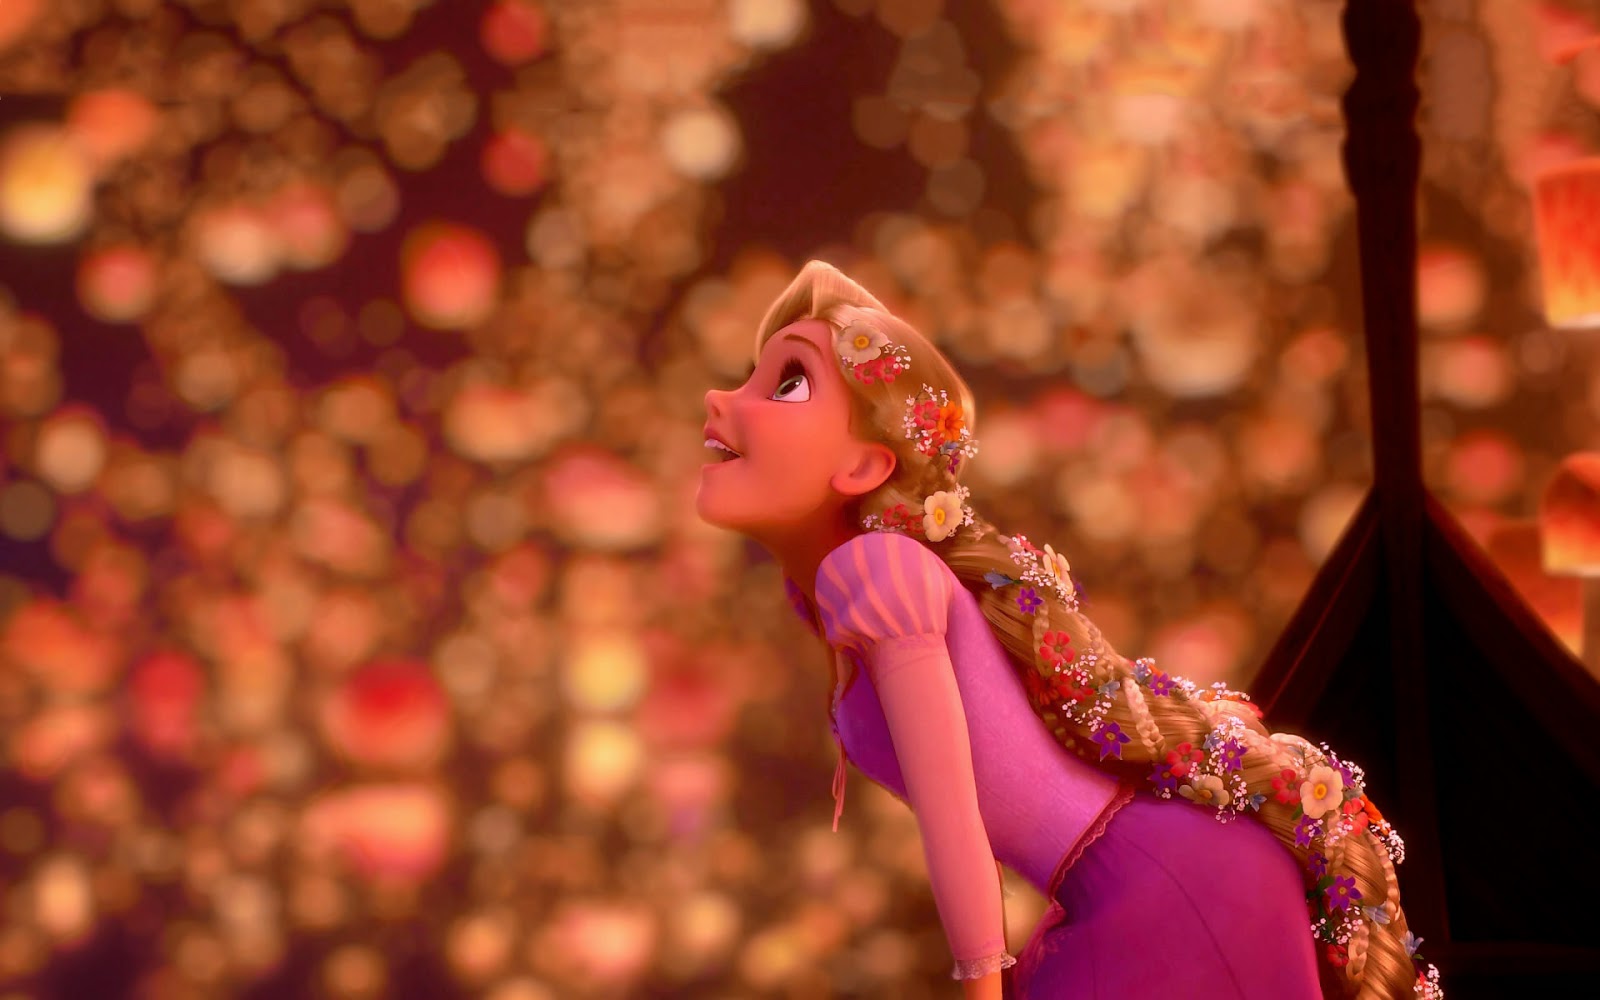
Today's Look is a recreation of Rapunzel's braid hairstyle from tangled!! I love this movie and love the character of Rapunzel! She beautiful inside and out, and brings out the best in even the most unlikely people! If you would like to capture some of the outward beauty of this awesome Princess and find out how to make her look work for your style; then this is the post for you!!
* RAPUNZEL*

TOOLS
Supplies Needed: Optional Supplies
*Brush * Clip in hair extensions
*Bobby pins (Infinity of them) *Flower hair accessories
*2 ponytails * Flower crown
THE LOOK

Step 1
Brush Your Hair


Tease the Crown

Step 2
Make 3 twists with the front portion of your hair and swoop them back secure with Bobby's


Step 3
Separate a 2/3 inch section of hair near the base of your neck then ponytail the rest out of the way

Braid the 2/3 inch section into two small braids

Step 4
What to do with the other side...french braid that side of your hair across the back of your head aiming towards the side that your large braid will be on then bobby pin the hair. This will secure the front of your hair out of your face kind of like a half up half down hairstyle. The tail of this braid will eventually be part of the big braid so you can just pin it and let the tail hang down once you reach the opposite side of your head.


Step 5
Take out the ponytail and sweep your hair to the side. Section your hair into three pieces to make a regular three strand braid (Leave the two small braids out of the three sections)

Start braiding with the 3 large sections. Each time you take one of the outward larger sections (on either the Left or right) wrap the large section with one of the two smaller braids... continue wrapping and braiding until you get to the bottom of your hair. If this seems to complex just start braiding and adding in the small braids it'll still look good even if you don't totally get how to do this part you just want to make the small braids show up against the three larger sections!!


*You want the small braids to pop out as shown in the pic below; to get a true Rapunzel inspired look*

Step 6
Do some touch ups!!
Fan out the twisted front sections

Pull the pieces of the braid apart to make a thicker pancake braid

Cover over the ponytail by wrapping it with your hair; like at the end of Rapunzel's braid.

After the touch ups the braid should look like this

Step 7
The finished look and styling options!! You can dress this hairstyle up or down depending on where you are going. I wore the plain braid at work today (I did it there too; if you couldn't tell from the background scenery of my pics LOL) The more whimsical looks would be perfect for a picnic, the beach, or even a concert!
Plain Braid

Decorated with flower clips

Braid with flower crown

Ta Da you did it!! The finished Rapunzel look YAY!!
(P.S. For you ladies with shorter hair you can still get this look.. Tease the crown, style your bangs as desired then just do a half up half down hair style and flip the ponytail inside out to create a topsy tail. That will give you a similar twisty look. Leave the bottom portion of your hair down just braid the section that is in the ponytail with the same steps used on the large braid shown above. Decorate with one flower clip to hide the ponytail!!)
Check out next weeks look I will be doing TWO looks inspired by The Little Mermaid's Ariel!!!
No comments:
Post a Comment